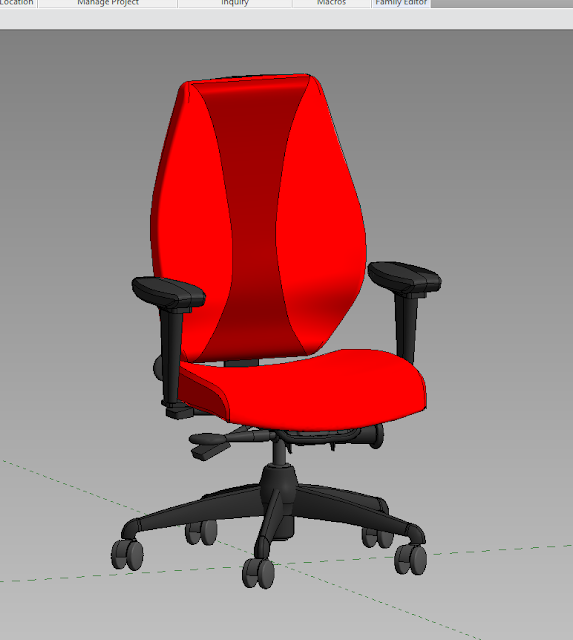
Sounds cool when I can convert any picture into 3D Model using REVIT. But I needed to use Dynamo to do that.
Here is a couple of pictures I converted them into 3D Models, using some nodes in Dynamo.
Here is a couple of pictures I converted them into 3D Models, using some nodes in Dynamo.
In the previous post; I shared my experiment in using Adaptive Components feature to model Al-Bahr Towers in Abu Dhabi. It was exciting for me to achieve this result.
However; I thought about extending this idea, and make more and more creative, specially that I started to read more about the environmental design, the sun, and also I started to learn more about using Dynamo to create beautiful Revit elements
So; in this post, I am showing a quick video for my experiment in applying some of the techniques I learnt in Dynamo, to change and manipulate the towers skin parametrically using the sun angle direction.
Here is the video:
In this experiment; I tried to simulate the same concept which is used to create Al-Bahar Towers in Abou Dabi.
Here is some images showing the concept:
The idea was to separate the whole shell into small units; give them some parameters, and then apply them to the whole tower skin.
Using these parameters; I could manipulate and change the whole skin impression easily.
Here is some screenshots for the workflow and the results:
In this video; I am showing my technique to place any REVIT family above any sloped surface inside REVIT.
In this video; I am showing a REVIT Family I've created to fulfill my needs of creating a huge number of Parking families for one of our projects.
Here is the video:
Here is the video:
In this post; I am sharing some of the renders done using Corona Renders. The materials are not that rich though, but it was quick job.
In this post; I am sharing my new experiments using Autodesk Fusion 360; This software has a lot of effective features.


